OBJECTIVE
Consuming OData Service of CAPM Application into SAP Fiori Application in Business Application Studio.
CAPM (Cloud Application Programming Model)
It is an open-source framework that uses tools, libraries, and languages to create applications that can be used across multiple SAP products. CAPM is a multi-target application that runs at different times, with the persistence layer running in the HANA DB run time, the server layer running in the Node.js run time, and the UI/UX layer running in the browser run time.
CAPM is one of the approaches to developing cloud applications using the BTP platform. CAPM offers a more structured and seamless framework for data modelling and enhancing integration with services.
Advantage of CAPM over other approaches
- It enables full-stack development in the same environment. (BAS), eliminating the need to switch between different environments for the backend and frontend development.
- It offers flexibility in language selection, allowing developers to work with multiple languages according to their needs. BAS provides easy connectivity to required extensions for this purpose.
- Seamless integration with git and other applications via APIs facilitating extension or development of the application.
- Automatically handling dependencies to a certain extent, reducing frustration, and improving development speed. For example, handling the OData after exposing all entities and making it easier to consume in the UI.
Prerequisites
◉ Create a CAPM project.
◉ Log in to Cloud Foundry Credentials.
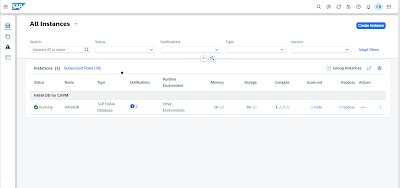
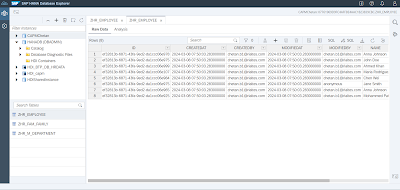
◉ Ensure the HANA Database is created and running (I Used it for storage and data creation).
◉ Set up a Dev Space.
◉ Create a SAP Build Work Zone instance to act as a Fiori Launchpad for the CAPM Application
You Have to create a new Destination in BTP (Connectivity -> Destination)
This destination will be used for passing system information when creating a Fiori Application.
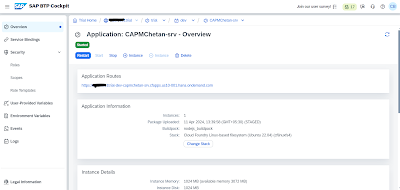
For the URL, DEPLOY YOUR APPLICATION IN CLOUD FOUNDRY (Cloud Foundry ->Spaces ->Dev (Space Name)->Your Service (here it is CAPMChetan-srv) and copy Application Routes).
This URL will be shown only when you deploy your CAPM Application in Cloud Foundry-> A new blog will be there to deploy the CAPM Application.
For Authorization, use the same authorization as created in the package.json -> a new blog will create a security configuration.
Now that the destination for the service is configured, proceed to create a FIORI APP: -
◉ Open SAP BAS (Business Application Studio).
◉ Open DEV Space where you want to create a Fiori Application.
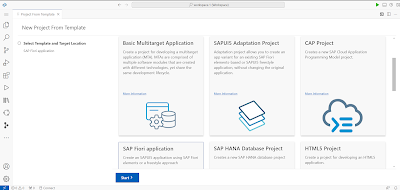
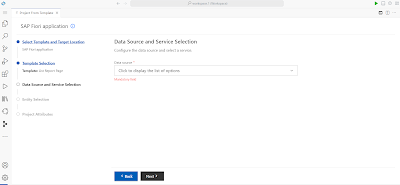
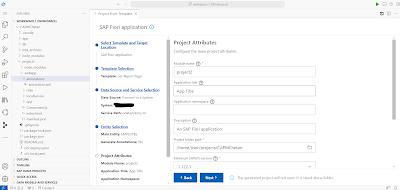
◉ Go to File -> New Project From template.
◉ Choose a project from the Template (SAP Fiori Application).
◉ Choose any Template of your choice.
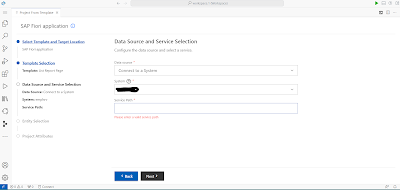
◉ In Data Source choose to connect to a system.
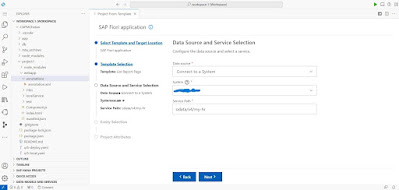
◉ Specify the Destination created earlier.
◉ In the service path, specify the service path of the OData service that can be obtained by running the command “cds watch –profile hybrid” in your CAPM Project.
◉ Click on next.
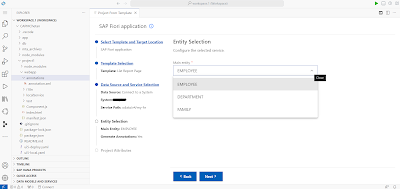
◉ Select any entity from the given list of entities you created in your project.
◉ Customize the project attributes.
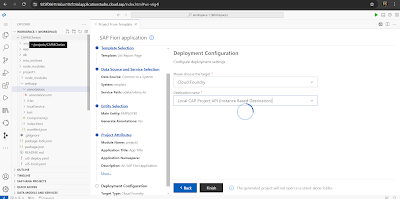
◉ Choose the target as Cloud Foundry and select the Destination name among the list of destination names (You can go with either Local CAPM Project API and the name of your destination too).
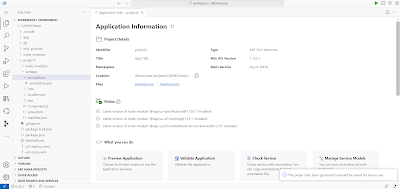
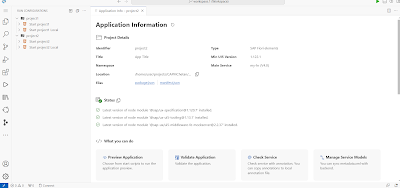
◉ Now, your FIORI project is created and is ready to use.
◉ Go to run configuration and start the project as usual.
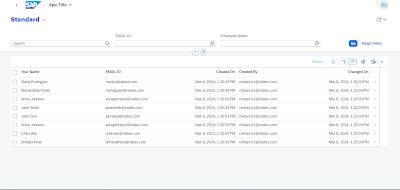
◉ You can now run this Fiori Application which is the result of an Application created from CAPM.




No comments:
Post a Comment